Introduction to CSS
Lesson: Style a basic web page using CSS
This page describes the in-class assignment for the second class. Your assignment is to add some CSS to the basic web page you created in the first class.
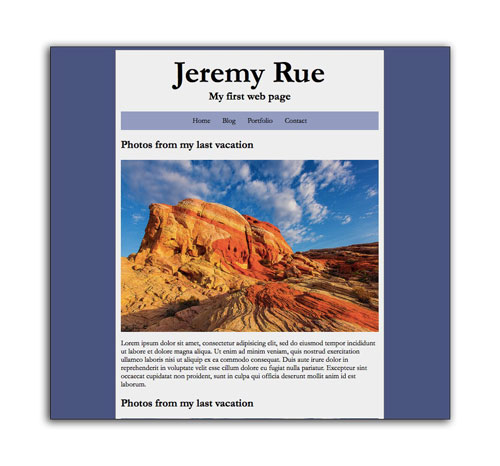
This is how the page will look at the end of the lesson:
Start with a basic HTML page
Use the index.html page from the previous lesson as a starting point. We will make one small change to your file: Just after the opening <body> tag, we will add a <div id="container"> tag, which will wrap your entire page. Just before the closing </body> tag, add a closing </div> tag as well.
If you’re uncertain if your project from the previous lesson is correct and want to start fresh, below is a boilerplate HTML page from last class. You can use this as a starting point instead, if you wish.
<!DOCTYPE html>
<html>
    <head>
        <meta charset="utf-8">
        <meta http-equiv="X-UA-Compatible" content="IE=edge">
        <title>My First Webpage</title>
        <meta name="description" content="An example web page built in Web Skills class">
        <meta name="viewport" content="width=device-width, initial-scale=1">
    </head>
    <body>
        <div id="container">
            <header>
                <h1>Jeremy Rue</h1>
                <h2>My first web page</h2>
            </header>
            <nav>
                <ul>
                    <li>Home</li>
                    <li>Blog</li>
                    <li>Portfolio</li>
                    <li>Contact</li>
                </ul>
            </nav>
            <article>
                <h2>Photos from my last vacation</h2>
                <img src="http://upload.wikimedia.org/wikipedia/commons/9/92/Colibri-thalassinus-001.jpg" width="500" height="auto" alt="Colibri-thalassinus">
                <p>Lorem ipsum dolor sit amet, consectetur adipisicing elit, sed do eiusmod tempor incididunt ut labore et dolore magna aliqua. Ut enim ad minim veniam, quis nostrud exercitation ullamco laboris nisi ut aliquip ex ea commodo consequat. Duis aute irure dolor in reprehenderit in voluptate velit esse cillum dolore eu fugiat nulla pariatur. Excepteur sint occaecat cupidatat non proident, sunt in culpa qui officia deserunt mollit anim id est laborum.</p>
                <p class="quote">Lorem ipsum dolor sit amet, consectetur adipisicing elit, sed do eiusmod tempor incididunt ut labore et dolore magna aliqua. Ut enim ad minim veniam, quis nostrud exercitation ullamco laboris nisi ut aliquip ex ea commodo consequat. Duis aute irure dolor in reprehenderit in voluptate velit esse cillum dolore eu fugiat nulla pariatur. Excepteur sint occaecat cupidatat non proident, sunt in culpa qui officia deserunt mollit anim id est laborum.</p>
                <p>Lorem ipsum dolor sit amet, consectetur adipisicing elit, sed do eiusmod tempor incididunt ut labore et dolore magna aliqua. Ut enim ad minim veniam, quis nostrud exercitation ullamco laboris nisi ut aliquip ex ea commodo consequat. Duis aute irure dolor in reprehenderit in voluptate velit esse cillum dolore eu fugiat nulla pariatur. Excepteur sint occaecat cupidatat non proident, sunt in culpa qui officia deserunt mollit anim id est laborum.</p>
            </article>
        </div>
    </body>
</html>
Add <style> tags to the head for including CSS code
CSS code goes between the opening and closing <style> tags in the <head> of the document.
<head>
    <meta charset="utf-8">
    <meta http-equiv="X-UA-Compatible" content="IE=edge">
    <title>My First Webpage</title>
    <meta name="description" content="An example web page built in Web Skills class">
    <meta name="viewport" content="width=device-width, initial-scale=1">

    <style>


    </style>

</head>
Notice the addition of the style tags above. Make sure to add these to your own page in the appropriate place in the <head> of your document.
Adding some body styles
Styles that affect the body tag of your HTML document are considered baseline styles. Since your entire page is within the <body> tag, they will affect everything!
We will first change the font to Garamond, creating a fallback to Georgia, then any serif font. Let’s also set the background color.
body{
    background: #4A547F;
    font-family: Garamond, Georgia, serif;
}
The above code goes inside your style tags.
Adding some styles to the container ID
We created a <div id="container"> tag to your page earlier. That ID is accessible in CSS by using the pound symbol #container. This gives us the ability to style this tag specifically, and differentiate it from other div tags.
The styles we will add are background color to a whiter color, adding some padding and setting a defined width. By setting the left and right margins to “auto,” we create an effect of centering this div tag.
#container{
    background: #eee;
    padding: 10px;
    width: 500px;
    margin-left: auto;
    margin-right: auto;
    border: 1px dotted black;
}
Add the following CSS rule after the body rule. Careful not to place one inside the other.
Styling the header tags
For the main heading, we will make the font size larger than the default by changing it to 60 pixels. We also want to center the text, and remove the default margins.
h1{
    font-size: 60px;
    text-align: center;
    margin: 0;
}

h2{
    text-align: center;
    margin-top: 0;
}
Styling the unordered list for navigation
We are using an unordered list for our navigation, denoted by a <ul> tag. Let’s center the contents of the tag, add a background color and 10 pixels of padding.
For the <li> tag, we will display in inline which means we want it to run on like text, instead of each element being on its own line. This will cause each list item to appear side-by-side.
ul{
    text-align: center;
    background: #939CBF;
    padding: 10px;
}

li{
    display: inline;
    padding: 10px;
}
Another thing we can do is change the background color whenever the user move the mouse over this <li> tag by using the :hover pseudo-selector. The :hover means this style will only be applied when the user moves the mouse over the li tag.
li:hover{
    background: white;
    cursor: pointer;
}
Styling the block quote
To make the two block quotes stand out, and indicate visually they are from another source, we will style them using the class selector .quote.
.quote{
    margin: 30px;
    font-style: italic;
    font-family: Helvetica, Arial, serif;
    line-height: 20px;
    color: #999;
}
Add some of your own styles next.
Assignment:
The assignment is to create a recipe for a delicious meal (it must be delicious).
The recipe requires the following elements:
- A title or heading (hint, hint) describing the recipe (clever titles are allowed)
- A photograph depicting the finished meal (copyrighted images on the web are OK)
- A list of ingredients
- A description of the process on how to make the meal, and optionally any background info about the meal.
Design a webpage for the recipe using HTML and CSS.
The following elements are required:
- An unordered/ordered list of ingredients
- An image tag for the photograph
- Some changes in the background color of the page or recipe
- A border of some sort
- Gold stars if it looks good (figuratively speaking, we’re not going to actually give you anything)
Save your recipe as yourname.html and upload it using the provided form.